暑假時畫了一張全開的觀音菩薩像,分組討論時有師姐問到,我就分享是怎麼做的。
師姐建議我將過程,詳細介紹給全班同學,讓大家知道,如何使用 AI 協助生成大幅畫作的底稿。
以下是相關資訊,希望對大家有幫助。阿彌陀佛 ![]()
▌一、生成圖像
第一期靜心畫佛的課程結束前,我和老師提及,我想畫全開的圖。
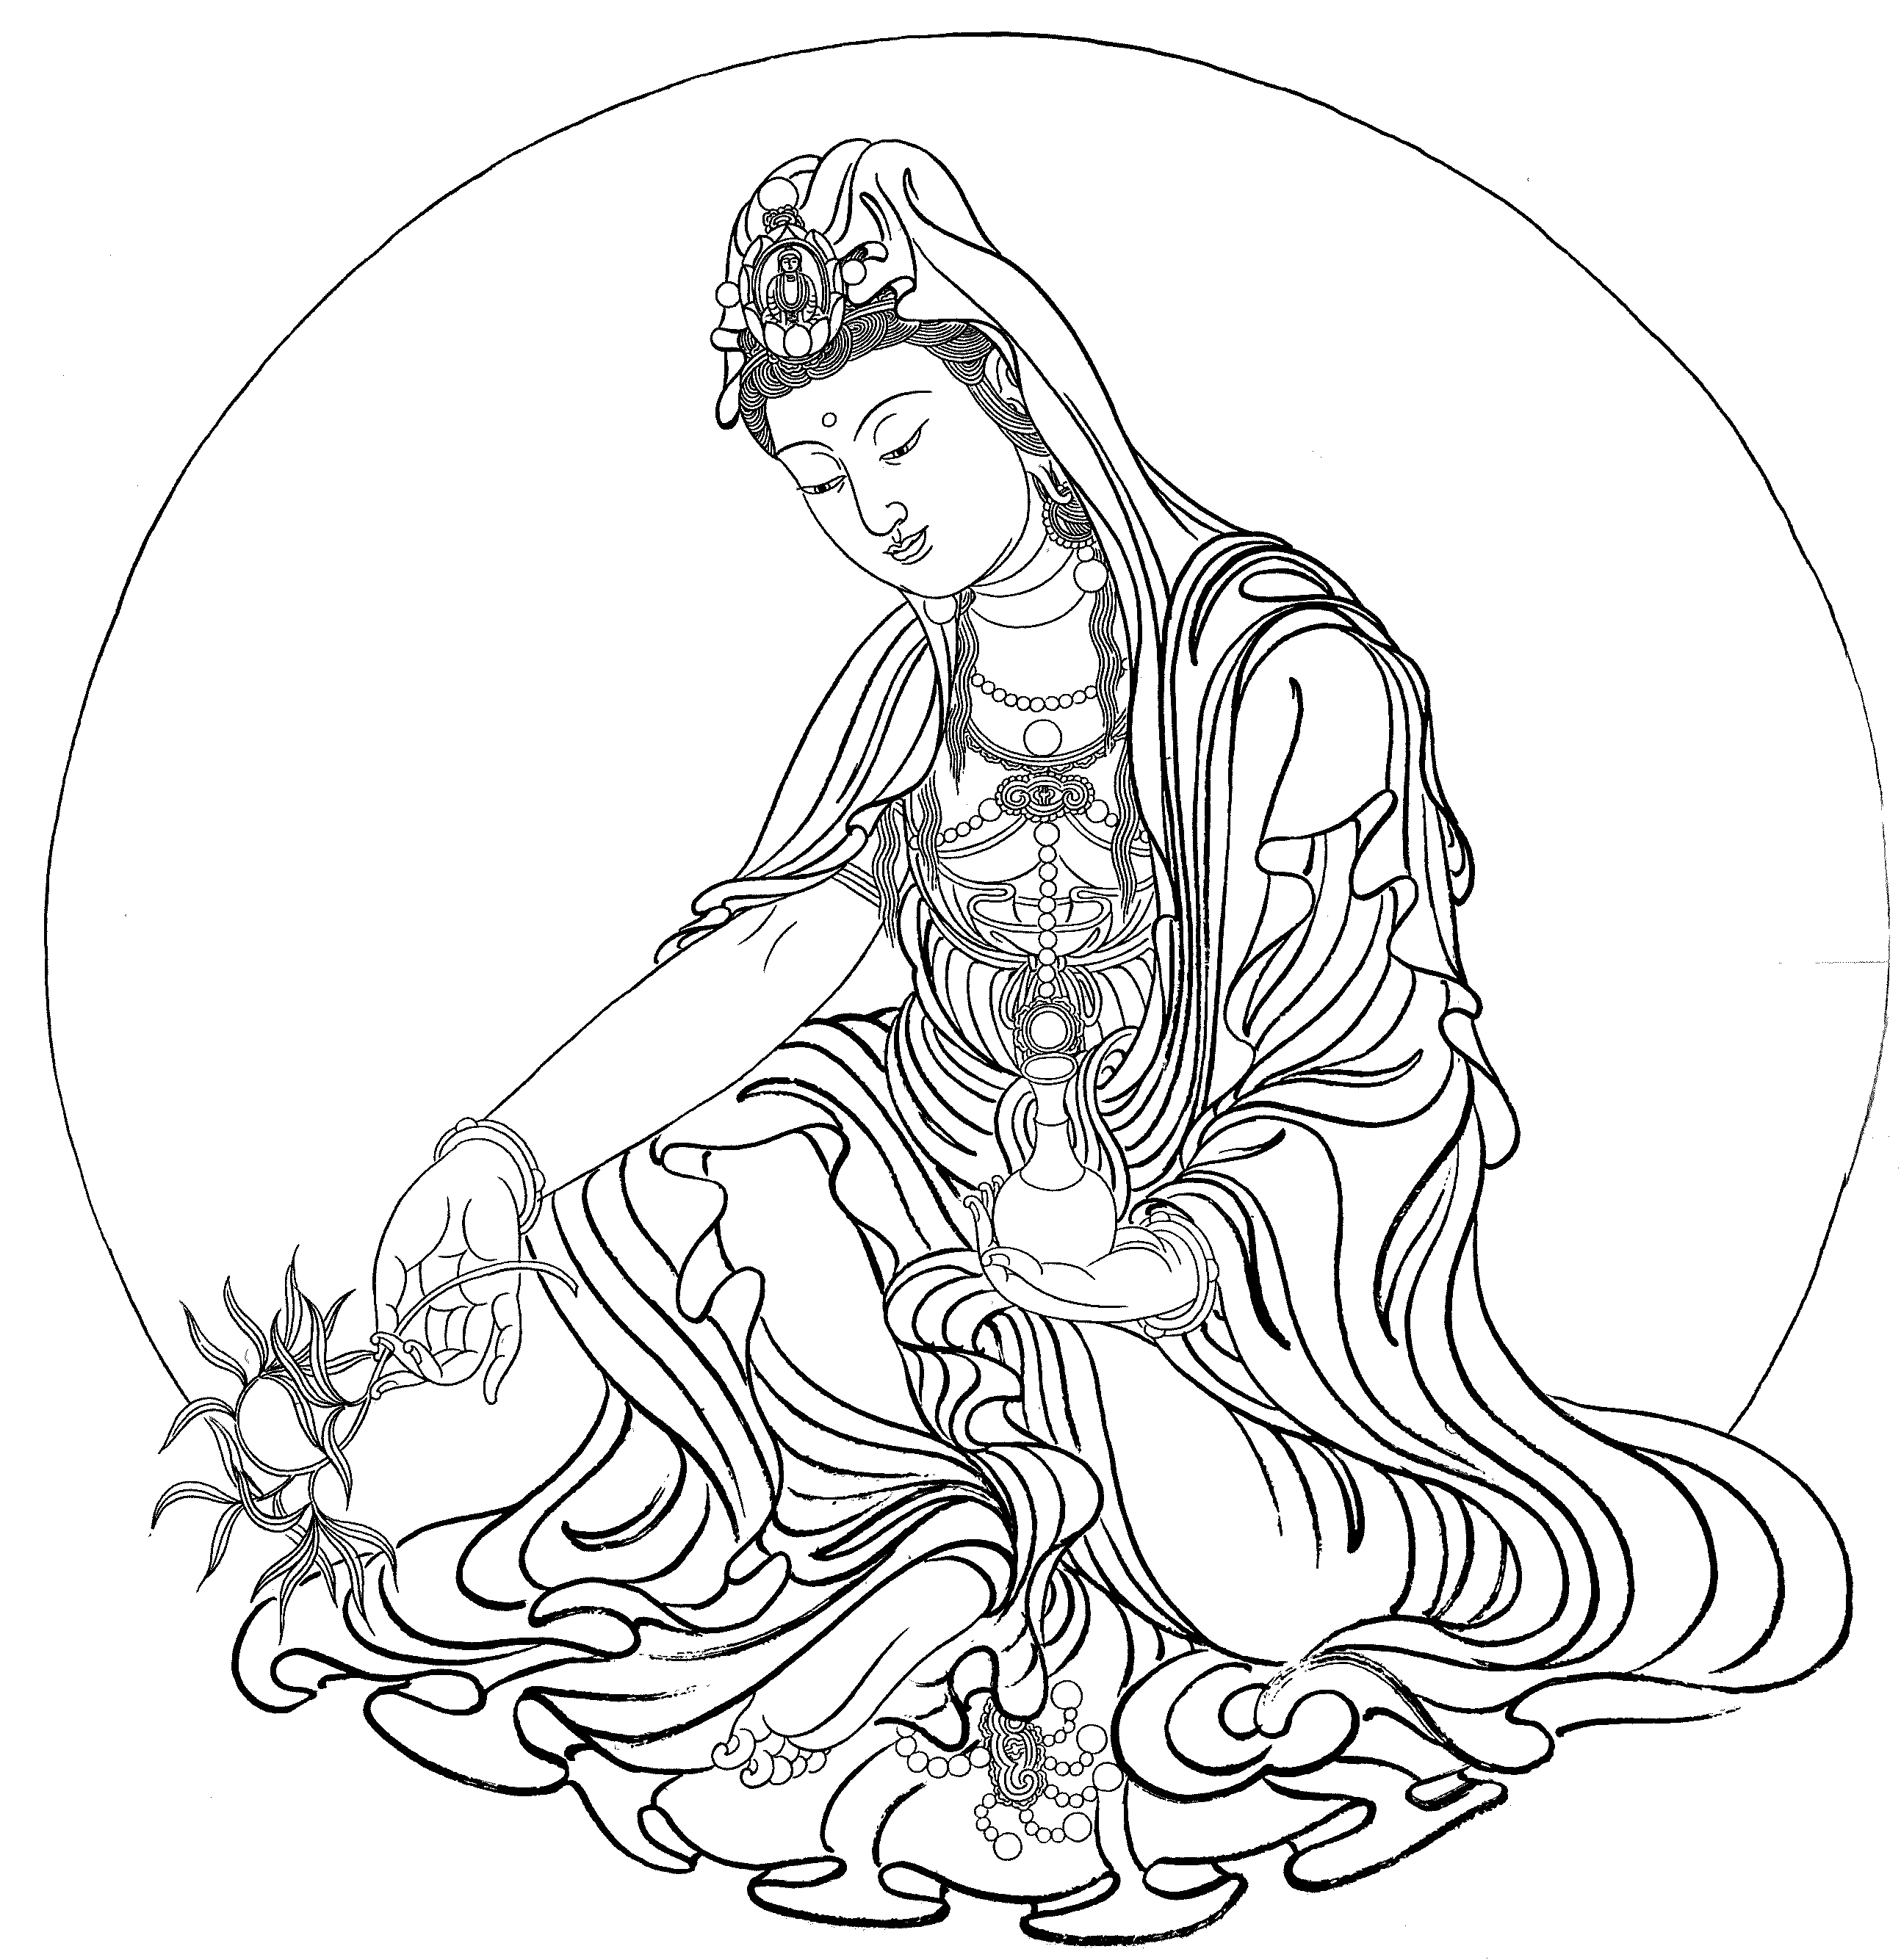
老師給了我一張觀世音菩薩的坐姿圖,我就請 AI(Gemini)協助轉為立姿圖,指令及生成的圖像如下:
指令
附圖是觀世音菩薩坐姿,請依以下原則生成立姿圖像。
一、依9頭身比例。
二、請提高解析度至300 dpi。
三、寬高比為9:16。
四、上半身(從頭飾一直到手部)盡量維持原作樣貌,神韻及線條繪製也是。主要生成在於由坐姿改站姿。
老師給我的原圖(坐姿):
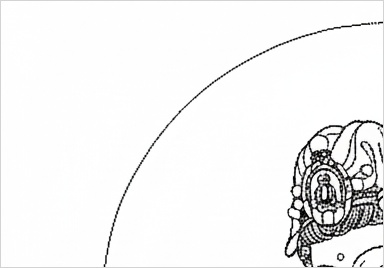
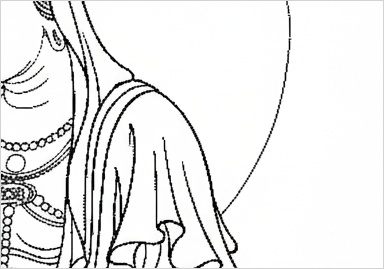
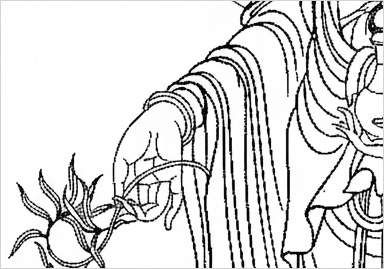
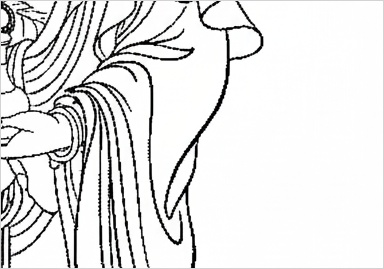
AI 生成的圖像(立姿):
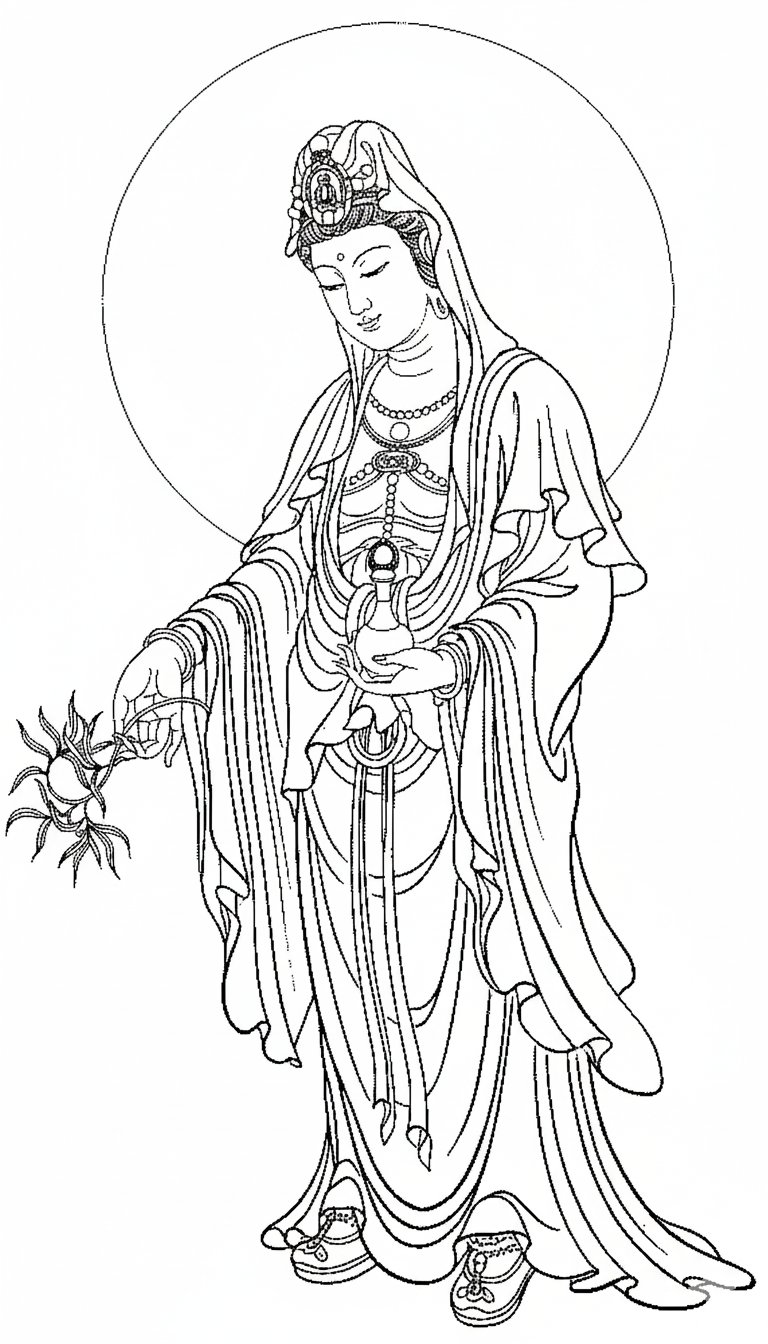
提醒一:AI 生成的圖像,有時會有一些問題,例如:手指多一根、比例不對、角度有點怪…等。
所以我在畫的時候,不會全部照稿畫,只是當作輪廓參考。
畢竟我們不是畫畫領域的專業,拿來當作輔助,就是很大的幫助了。
提醒二:AI 沒有大家想像的那麼聰明,有時要嘗試很多次才會成功。(失敗的圖像,我就不附了,大家實際去試的時候,就會發現)
▌二、提高解析度
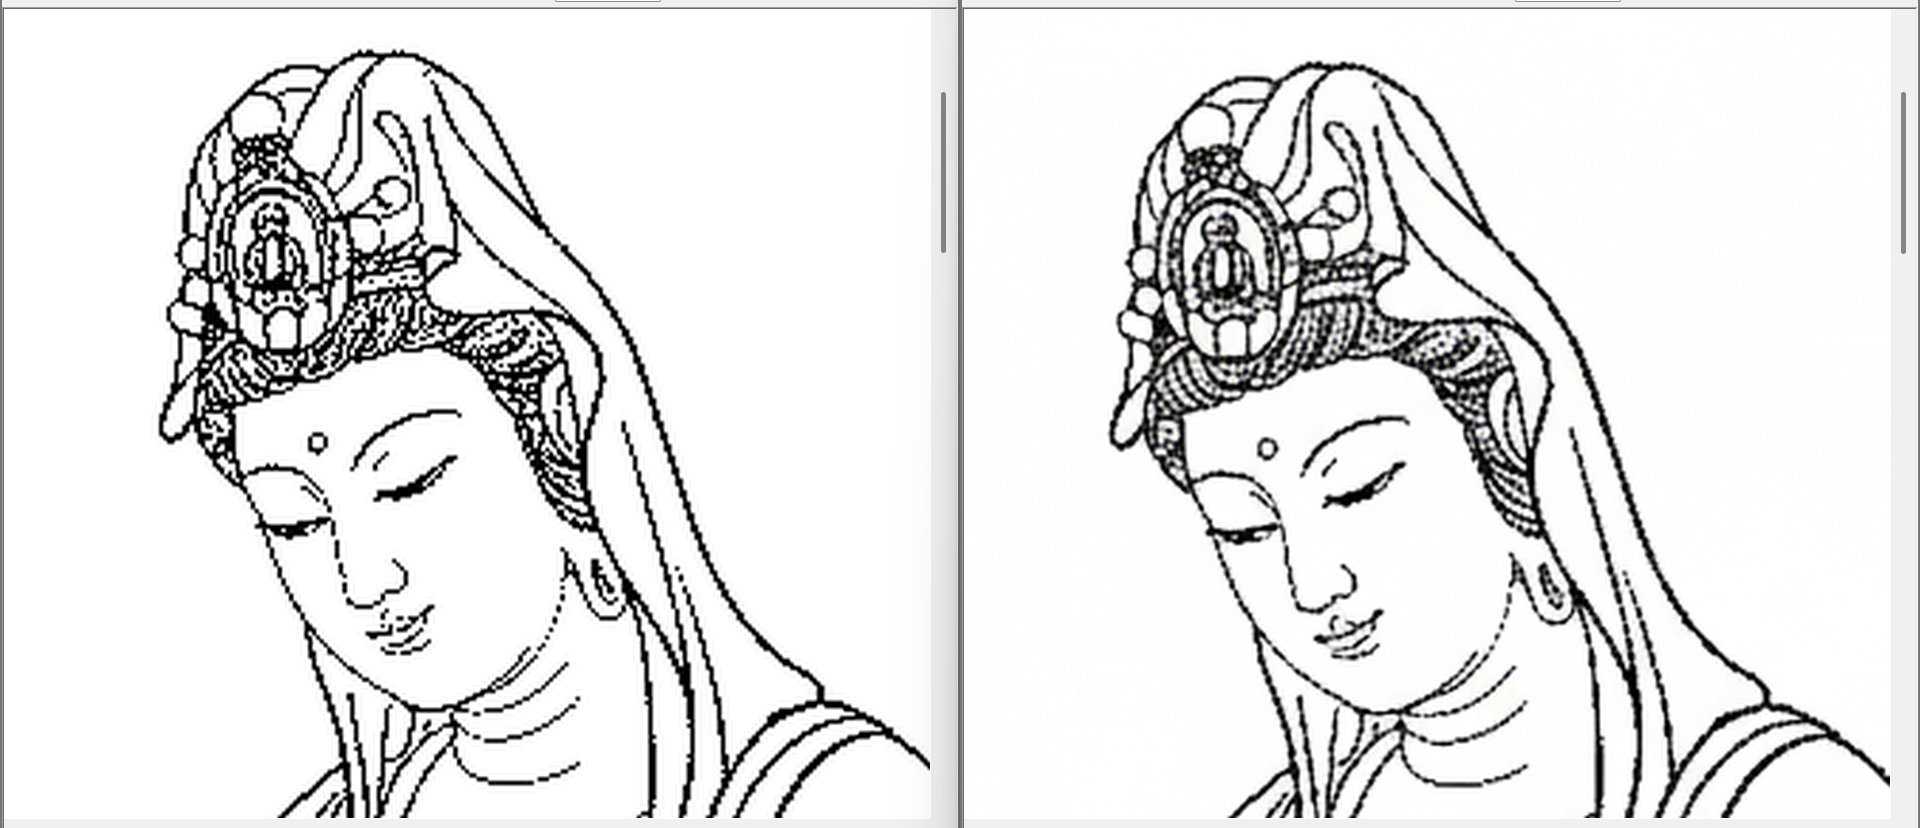
AI 生成的圖像,解析度都不高。
如果我們直接放大,整張圖會糊掉。
我附一張提高圖像解析度前後的對照示意圖,大家應該一看就懂了。
網路上有很多免費提高圖像解析度的服務,例如以下這個,不用登入,上傳原始圖檔 → 提高圖像解析度 → 然後下載。
▌三、切割圖檔
我們一般家裡使用的印表機,最大張的紙是 A4。
(以下的數字不用記)四尺全開的禪衣宣,寬高尺寸大約是 69cm × 138cm(網路搜尋,我自己用尺量,寬大約是 66cm)。
簡單的講,要用好幾張 A4 紙,來合成一張大底稿。
我請 AI 協助,寫了一個程式,可以將前述步驟產生的高解析度圖像,自動拆分為適合的張數。
-
程式會依你提供的圖檔,自動計算尺寸,所以切割後的張數並非固定。
-
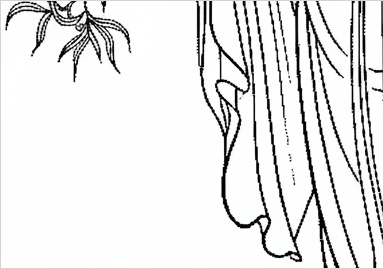
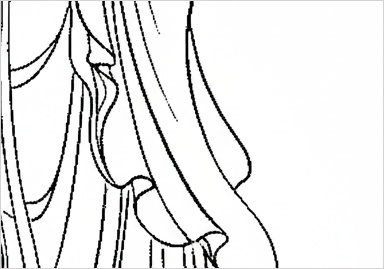
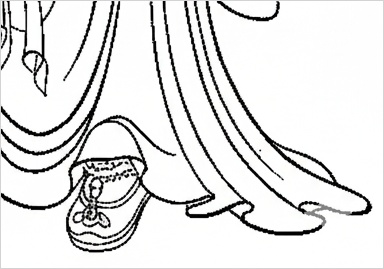
切割後的圖,每張圖的最外圍有加上細線,方面裁切。
切割後的範例圖如下:


完整程式如下,有需要的朋友請自取。
#!/usr/bin/env python3
"""
佛像圖片分割程式 - 最終版 (含小圖邊框功能)
將圖片分割成4-14張A4大小,用於大尺寸列印拼貼

使用方法:
python cutimage_final.py input.jpg [options]

特色:
- 每個分割小圖會添加1像素淺色邊框,方便印刷後裁剪對齊
- 不會在完整圖上添加分割線
- 自動判斷最佳分割方式 (2×N行配置)
"""

import argparse
import os
import sys
from PIL import Image, ImageDraw
import numpy as np

class ImageSplitter:
    def __init__(self, auto_crop_whitespace=False, min_rows=2, max_rows=7):
        """
        初始化圖片分割器
        """
        # A4橫向尺寸 (mm)
        self.a4_width = 297   # A4橫向寬度
        self.a4_height = 210  # A4橫向高度

        # BOOL 設定參數
        self.auto_crop_whitespace = auto_crop_whitespace

        # 分割範圍設定
        self.min_rows = min_rows
        self.max_rows = max_rows

        # 驗證配置生成 - 確保每個配置都正確
        print("=== 配置驗證 ===")
        self.split_configs = {}

        # 手動設定配置以確保正確
        configs_data = [
            (2, 4),   # 2行×2列 = 4等分
            (3, 6),   # 3行×2列 = 6等分
            (4, 8),   # 4行×2列 = 8等分
            (5, 10),  # 5行×2列 = 10等分
            (6, 12),  # 6行×2列 = 12等分
            (7, 14),  # 7行×2列 = 14等分
        ]

        for rows, total_pieces in configs_data:
            if rows >= min_rows and rows <= max_rows:
                width = 594   # 297mm × 2 = 594mm (2張A4橫向寬度)
                height = 210 * rows  # 210mm × 行數

                self.split_configs[total_pieces] = {
                    'cols': 2,
                    'rows': rows,
                    'width': width,
                    'height': height
                }

                ratio = height / width
                print(f"  {total_pieces}等分: {rows}行×2列, 尺寸: {width}×{height}mm, 比例: {ratio:.3f}")

        print(f"支援範圍: {min_rows}×2 到 {max_rows}×2")

    def crop_whitespace(self, image, threshold=245):
        """裁切圖片周圍的空白區域"""
        print("正在裁切空白邊緣...")

        # 轉為灰階分析
        gray = image.convert('L')
        gray_array = np.array(gray)

        # 找到非白色區域
        non_white = gray_array < threshold

        # 找到邊界
        rows = np.any(non_white, axis=1)
        cols = np.any(non_white, axis=0)

        if not np.any(rows) or not np.any(cols):
            print("警告: 找不到非白色區域,使用原圖")
            return image

        top, bottom = np.where(rows)[0][[0, -1]]
        left, right = np.where(cols)[0][[0, -1]]

        # 稍微留一點邊距
        margin = min(10, left, top, image.width - right, image.height - bottom)
        top = max(0, top - margin)
        bottom = min(image.height, bottom + margin)
        left = max(0, left - margin)
        right = min(image.width, right + margin)

        cropped = image.crop((left, top, right, bottom))
        print(f"裁切結果: {image.size} -> {cropped.size}")

        return cropped

    def determine_split_method(self, image):
        """根據圖片長寬比自動判斷最佳分割方式"""
        width, height = image.size
        image_aspect_ratio = height / width

        print(f"圖片尺寸: {width} × {height}")
        print(f"圖片長寬比: {image_aspect_ratio:.3f}")

        best_method = None
        min_difference = float('inf')

        # 計算每種分割方案與圖片長寬比的差異
        print("\n=== 分割方案評估 ===")
        for pieces, config in self.split_configs.items():
            target_ratio = config['height'] / config['width']  # 高/寬
            difference = abs(image_aspect_ratio - target_ratio)

            print(f"  {pieces}等分 ({config['rows']}×{config['cols']}): 拼接{config['width']}×{config['height']}mm, 比例{target_ratio:.3f}, 差異{difference:.3f}")

            if difference < min_difference:
                min_difference = difference
                best_method = pieces

        print(f"\n=== 最佳選擇: {best_method}等分 ===")
        best_config = self.split_configs[best_method]
        print(f"配置: {best_config['rows']}行×{best_config['cols']}列")
        print(f"拼接尺寸: {best_config['width']}×{best_config['height']}mm")

        return best_method

    def add_border_to_piece(self, piece, line_width=1, line_color='lightgray'):
        """在分割小圖周圍添加邊框線以方便裁剪 - 關鍵新功能"""
        # 創建新的圖片,尺寸與原圖相同
        bordered_piece = Image.new('RGB', piece.size, 'white')
        bordered_piece.paste(piece, (0, 0))

        # 在周圍畫邊框
        draw = ImageDraw.Draw(bordered_piece)
        width, height = piece.size

        # 畫四邊的邊框線 (各1像素)
        # 上邊
        for i in range(line_width):
            draw.line([(0, i), (width-1, i)], fill=line_color, width=1)
        # 下邊
        for i in range(line_width):
            draw.line([(0, height-1-i), (width-1, height-1-i)], fill=line_color, width=1)
        # 左邊
        for i in range(line_width):
            draw.line([(i, 0), (i, height-1)], fill=line_color, width=1)
        # 右邊
        for i in range(line_width):
            draw.line([(width-1-i, 0), (width-1-i, height-1)], fill=line_color, width=1)

        return bordered_piece

    def split_image(self, image, split_method, output_dir, base_name):
        """將圖片分割成多個小圖,每個小圖加邊框"""
        print(f"\n=== 分割圖片為 {split_method} 等分 ===")

        config = self.split_configs[split_method]
        cols, rows = config['cols'], config['rows']
        width, height = image.size

        col_width = width / cols
        row_height = height / rows

        print(f"分割設定: {rows}行×{cols}列")
        print(f"每塊尺寸: {col_width:.0f} × {row_height:.0f} 像素")
        print("每個小圖將添加1像素淺色邊框以方便裁剪")

        # 確保輸出目錄存在
        os.makedirs(output_dir, exist_ok=True)

        split_files = []

        for row in range(rows):
            for col in range(cols):
                # 計算裁切區域
                left = int(col * col_width)
                top = int(row * row_height)
                right = int((col + 1) * col_width)
                bottom = int((row + 1) * row_height)

                # 裁切圖片
                piece = image.crop((left, top, right, bottom))

                # 重點:在小圖周圍添加邊框線以方便裁剪
                piece_with_border = self.add_border_to_piece(piece, 1, 'lightgray')

                # 生成檔名 (行列編號)
                filename = f"{base_name}_r{row+1}c{col+1}.jpg"
                filepath = os.path.join(output_dir, filename)

                # 儲存帶邊框的小圖
                piece_with_border.save(filepath, 'JPEG', quality=95)
                split_files.append(filepath)

                print(f"  {filename} ({piece.size}+邊框) - 區域: ({left},{top})到({right},{bottom})")

        return split_files

    def process_image(self, input_path, crop_whitespace=None, force_split=None, output_dir='output'):
        """主要處理流程"""
        print(f"=== 處理圖片: {input_path} ===")

        # 使用類別預設值或傳入參數
        crop_whitespace = crop_whitespace if crop_whitespace is not None else self.auto_crop_whitespace

        print(f"設定 - 裁切空白: {crop_whitespace}, 小圖加邊框: 是 (1px淺色)")

        # 載入圖片
        try:
            image = Image.open(input_path)
            print(f"原始圖片: {image.size}, 模式: {image.mode}")

            # 轉換圖片模式以確保可以儲存為 JPEG
            if image.mode in ('RGBA', 'LA', 'P'):
                if image.mode == 'P' and 'transparency' in image.info:
                    image = image.convert('RGBA')
                    background = Image.new('RGB', image.size, (255, 255, 255))
                    background.paste(image, mask=image.split()[-1])
                    image = background
                else:
                    image = image.convert('RGB')
                print(f"已轉換為: {image.mode}")
        except Exception as e:
            print(f"錯誤: 無法載入圖片 {input_path}: {e}")
            return False

        # 裁切空白
        if crop_whitespace:
            image = self.crop_whitespace(image)

        # 決定分割方式
        if force_split:
            if force_split not in self.split_configs:
                available = list(self.split_configs.keys())
                print(f"錯誤: --force-split 只能是 {available}")
                return False
            split_method = force_split
            config = self.split_configs[split_method]
            print(f"強制使用 {split_method}等分 ({config['rows']}行×{config['cols']}列)")
        else:
            split_method = self.determine_split_method(image)

        # 儲存原始完整圖片(不含分割線)
        base_name = os.path.splitext(os.path.basename(input_path))[0]
        full_image_path = os.path.join(output_dir, f"{base_name}_full.jpg")
        os.makedirs(output_dir, exist_ok=True)
        image.save(full_image_path, 'JPEG', quality=95)
        print(f"儲存完整圖片: {full_image_path}")

        # 分割圖片(每個小圖會自動加邊框)
        split_files = self.split_image(image, split_method, output_dir, base_name)

        config = self.split_configs[split_method]
        print(f"\n=== 完成! ===")
        print(f"共產生 {len(split_files)} 個帶邊框的小圖")
        print(f"輸出目錄: {output_dir}")
        print(f"分割方式: {split_method}等分 ({config['rows']}行×{config['cols']}列)")
        print(f"建議拼接尺寸: {config['width']}×{config['height']}mm")
        print("提醒: 每個小圖都有1像素淺色邊框,印刷時可按邊框線裁剪")

        return True

def main():
    parser = argparse.ArgumentParser(
        description='將佛像圖片分割成4-14張A4大小用於列印拼貼 - 最終版 (含邊框)',
        formatter_class=argparse.RawDescriptionHelpFormatter,
        epilog="""
範例:
  python cutimage_final.py test.jpg                     # 基本使用,自動判斷分割方式
  python cutimage_final.py test.jpg --crop-whitespace   # 裁切空白
  python cutimage_final.py test.jpg --force-split 6     # 強制6等分 (3×2)
  python cutimage_final.py test.jpg --output-dir my_output      # 指定輸出目錄

特色: 每個分割小圖都會自動添加1像素淺色邊框,方便印刷後裁剪對齊
        """
    )

    parser.add_argument('input_file', help='輸入圖片檔案路徑')
    parser.add_argument('--crop-whitespace', action='store_true',
                       help='自動裁切空白邊緣')
    parser.add_argument('--force-split', type=int,
                       help='強制分割成指定等分 (4,6,8,10,12,14)')
    parser.add_argument('--min-rows', type=int, default=2,
                       help='最小行數 (預設: 2)')
    parser.add_argument('--max-rows', type=int, default=7,
                       help='最大行數 (預設: 7)')
    parser.add_argument('--output-dir', default='output',
                       help='輸出目錄 (預設: output)')

    args = parser.parse_args()

    # 檢查輸入檔案
    if not os.path.exists(args.input_file):
        print(f"錯誤: 找不到檔案 {args.input_file}")
        sys.exit(1)

    # 處理圖片
    splitter = ImageSplitter(
        min_rows=args.min_rows,
        max_rows=args.max_rows
    )
    success = splitter.process_image(
        args.input_file,
        crop_whitespace=args.crop_whitespace,
        force_split=args.force_split,
        output_dir=args.output_dir
    )

    if not success:
        sys.exit(1)

if __name__ == '__main__':
    main()
程式的呼叫語法如下(程式中有註解可參考):
python cutimage.py input.jpg
▌四、接圖
每張切割後的小圖,邊緣會有方便切割的直線,切割時建議保留那條直線。
接圖時不建議用膠水,那會讓紙變成皺皺的,不方便描繪。
將上述 10 張小圖貼成一張,我是用可以撕下的 3M 隱形膠帶。
將合成之後的大圖,附在禪衣宣上,我也是用一樣的 3M 隱形膠帶(從 A4 紙撕下膠帶很方便,從禪衣宣上撕下膠帶會有點麻煩,所以我會盡量減少貼在禪衣宣的部分)。
大家平安健康。學習精進。